


Create Stackable Elements on Your Squarespace Website
If you want to add subtle movement or visual interest to your Squarespace website, one of the simplest techniques you can use is stacking elements. This effect allows blocks within a section to “pin” and overlap as the user scrolls, creating a dynamic layered look, without any code.
In this quick tutorial, I’ll walk you through how to stack elements in Squarespace using the built-in Pin feature.
What Does “Stacking Elements” Mean in Squarespace?
Stacking elements is a design technique where blocks in the same section stop (or “pin”) as the visitor scrolls, allowing other blocks to scroll beneath or over them. This creates a smooth, modern scroll animation effect that adds depth and movement.
Squarespace makes this easy using the Pin option available on most blocks.

Want a framework for designing the perfect homepage?

Need an expert to build your Squarespace website?
Book a free kick-off call with our team to discuss your project requirements in detail.
How to Stack Elements in Squarespace
Follow this simple walkthrough to create stacked scroll effects in any section.
1. Start With an Empty Section
On your Squarespace page:
Add or select a section
Choose a background image or colour
Leave the inside of the section empty for now
You should see a clean space where you can begin adding blocks.
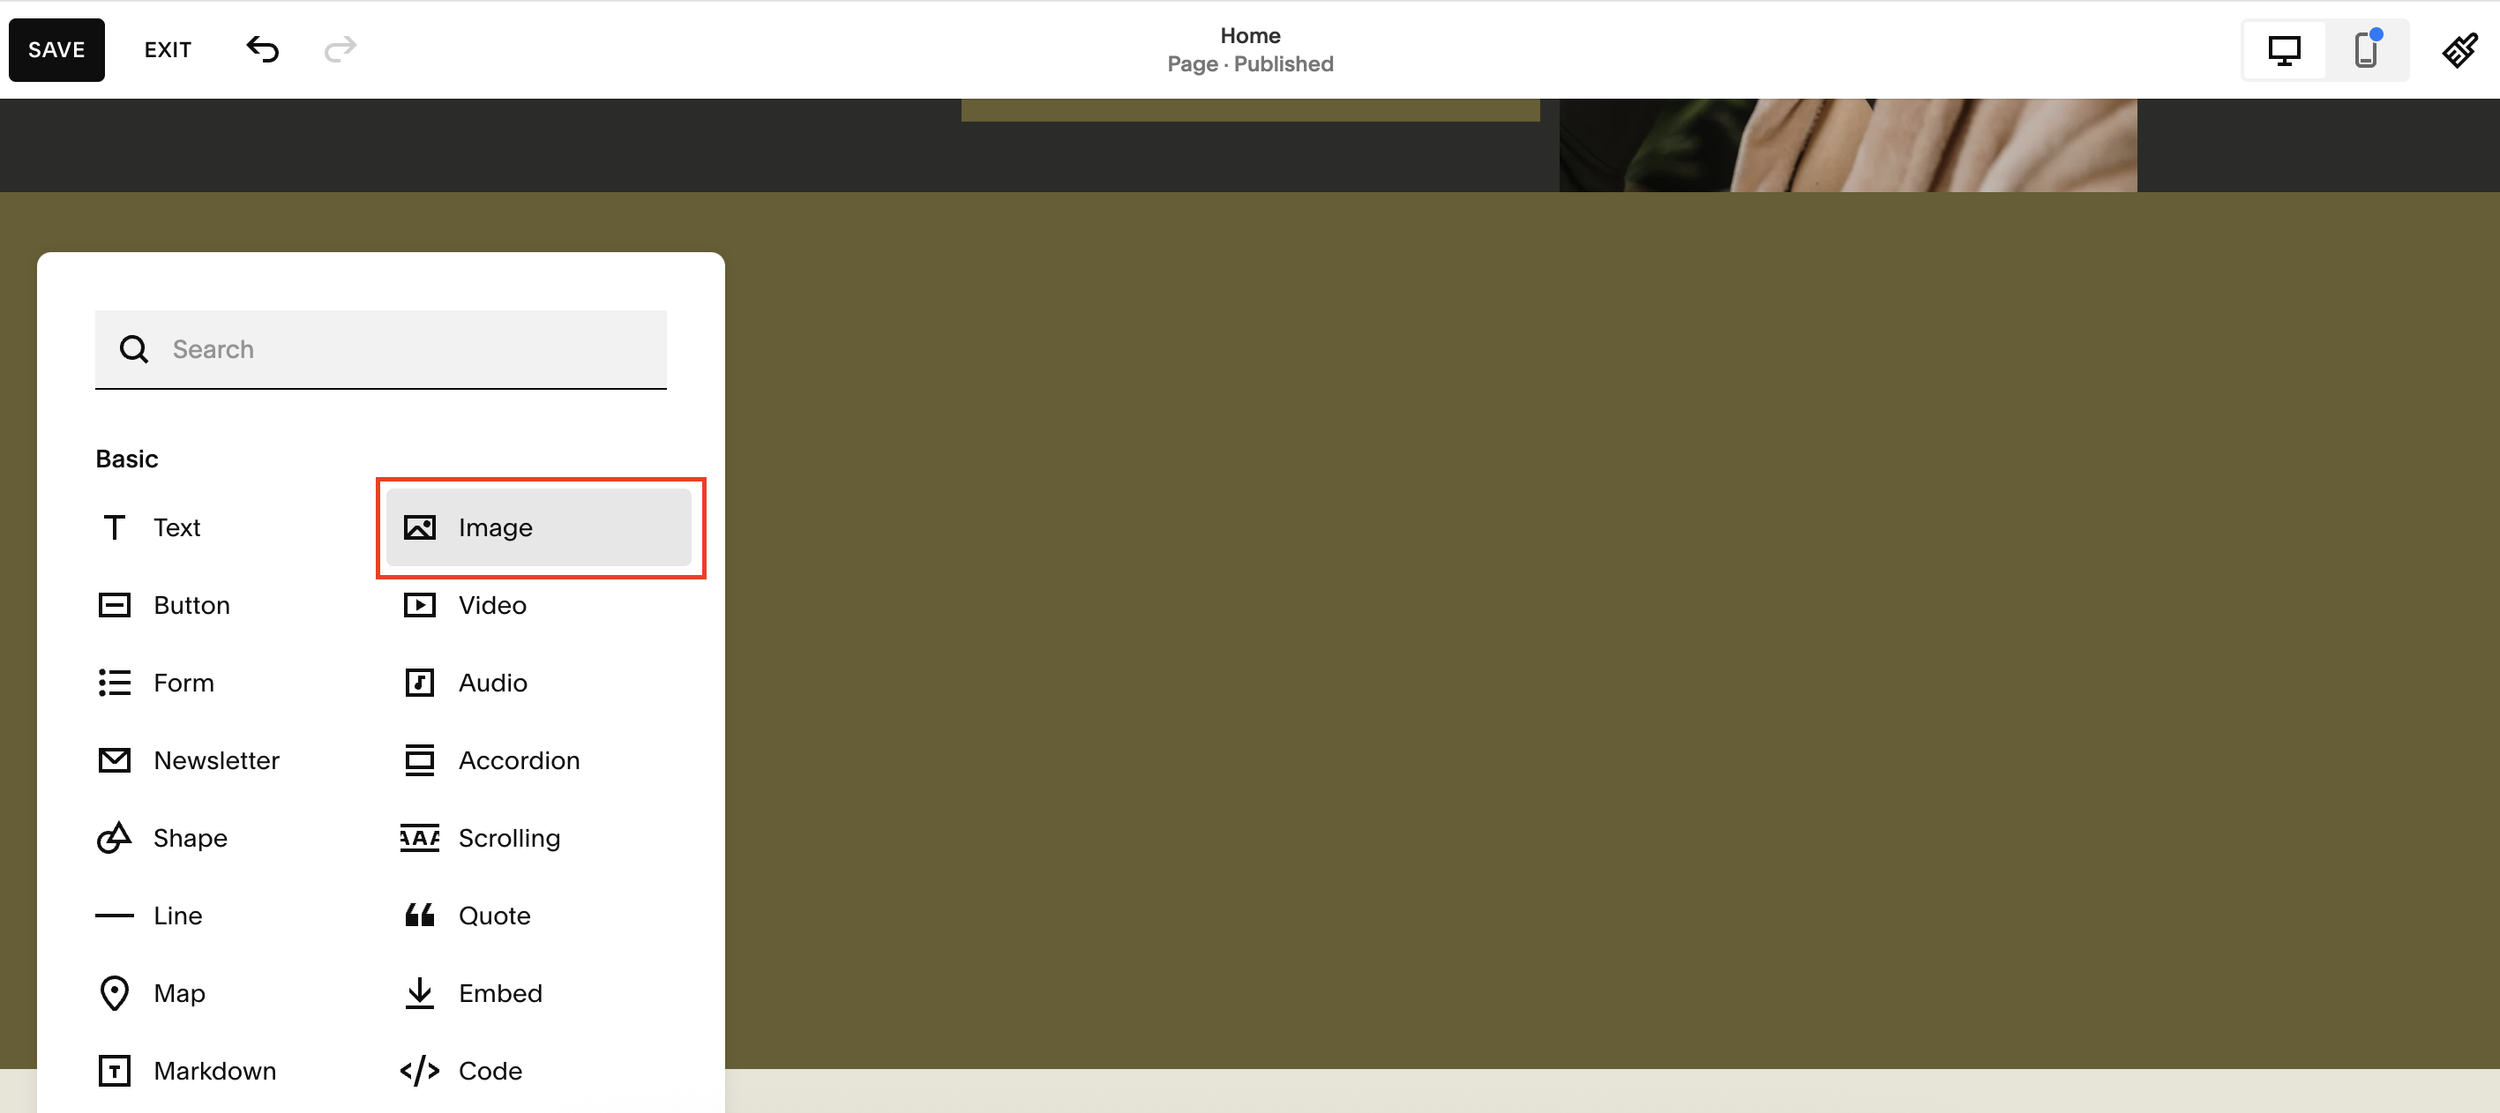
2. Add Your First Image Block
Enter the editor
Click Add Block > Image
Choose an image from your library
Stretch or resize the image block as needed (using the design or drag controls)
This will be the first element in your stacked layout.
3. Duplicate the Image and Create Variation
To create more visual interest:
Duplicate the image block
Move the duplicate beneath the original
Adjust the size or shape so the two images differ
Now your section has multiple elements that can be staggered and pinned.
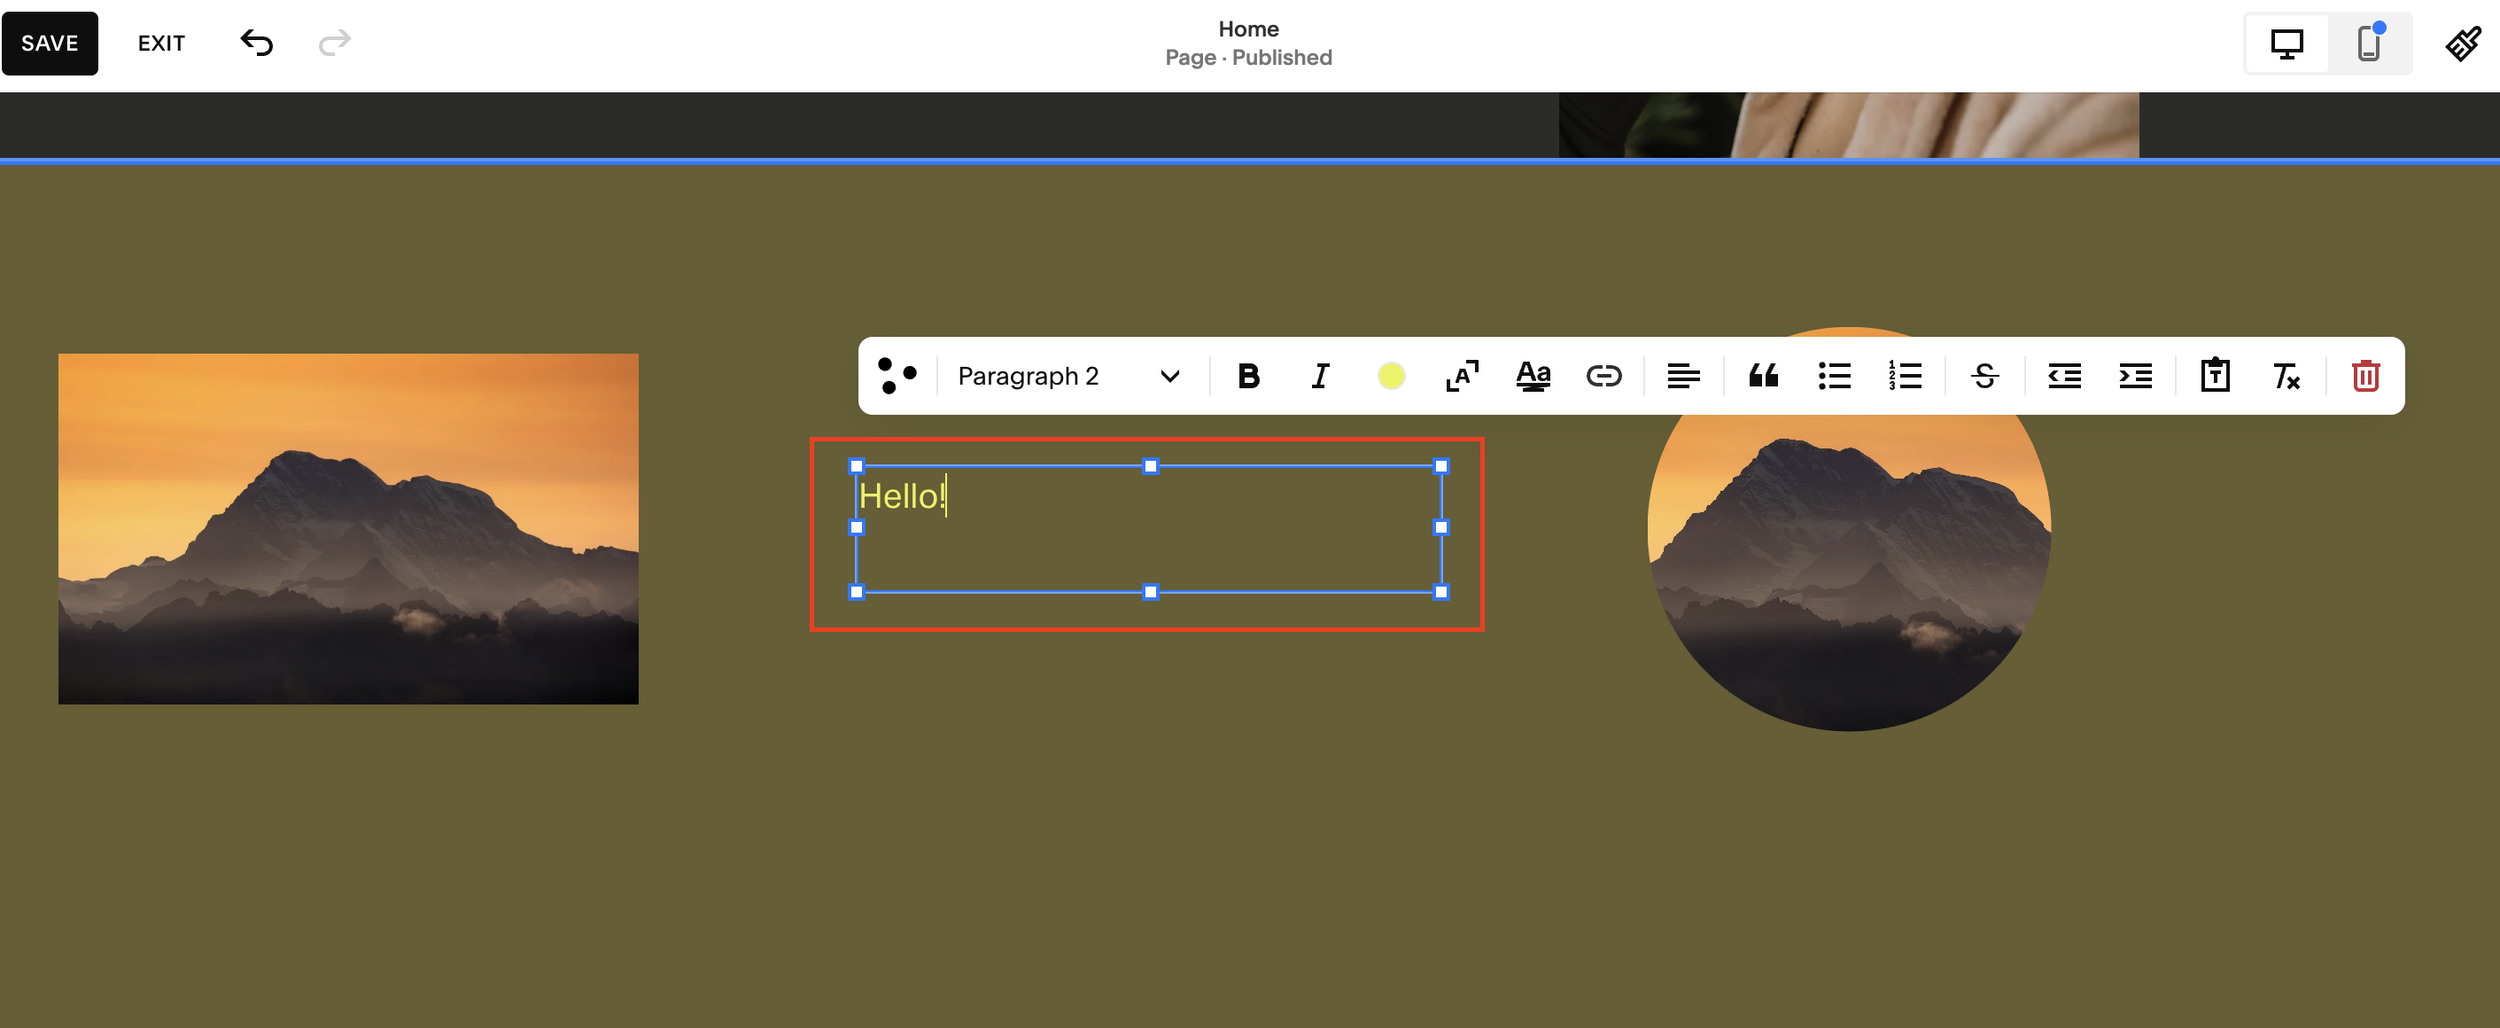
4. Add a Text Block Between the Images
Between the two images:
Add a Text block
Write your text (e.g. a heading or caption)
Format it so it’s clear and easy to read
Space it out visually from the images
You now have three stackable elements: image > text > image.
5. Apply the Pinning Effect
This is where the scroll animation begins.
Pin the first image:
Click the image block
Select the Pin icon
This locks the block in place when it reaches the top of the screen
Pin the text block:
Do the same for the text block. Now it will also stop as the user scrolls.
With pinning applied, the elements will begin stacking naturally.
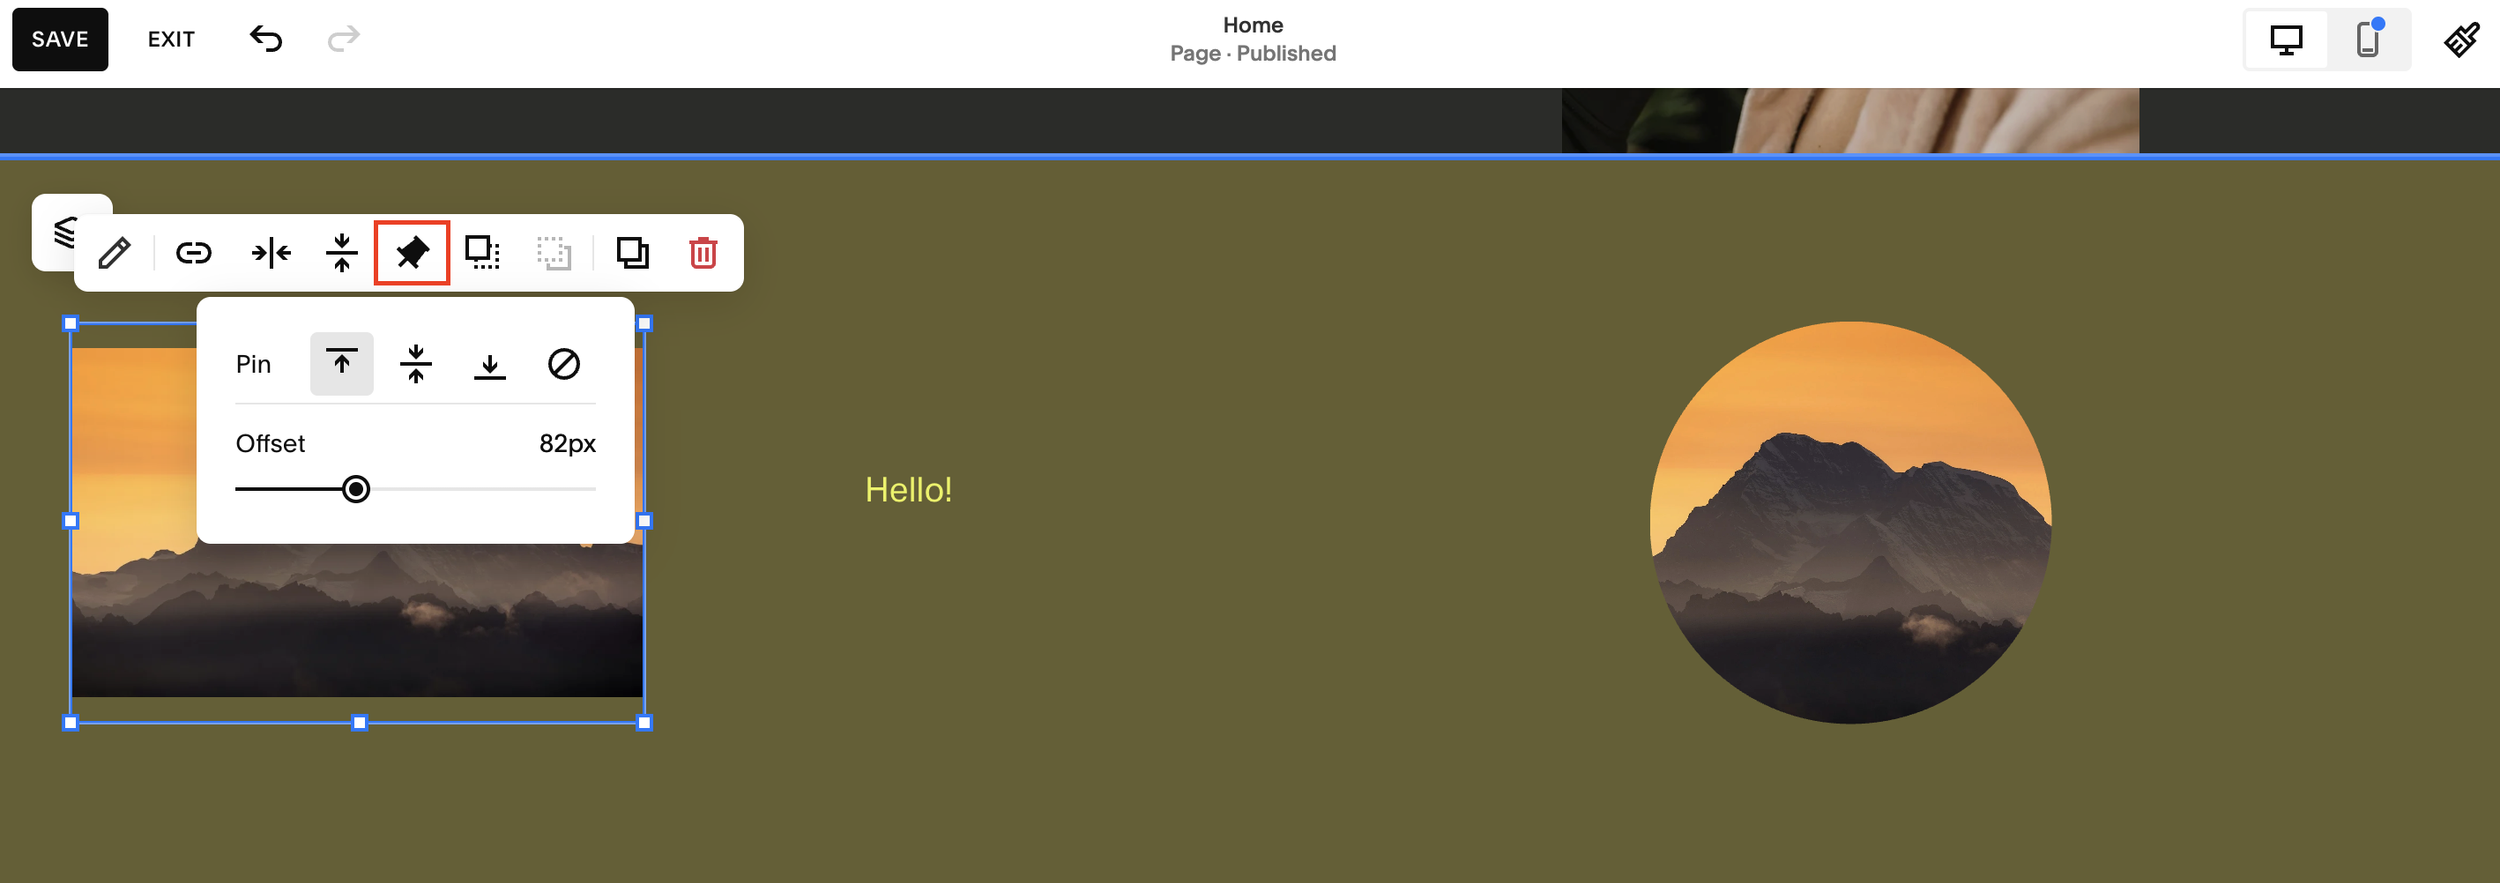
6. Adjust the Pin Offset (Optional but Powerful)
You can take the effect further by adding offsets.
Click a block
Open the Pin settings
Adjust the offset number to move where the pinning begins
For example:
Offset 42px: slight shift
Offset 90px - 110px: more dramatic centered pinning
Larger offsets place the block further down the screen before it pins
This allows you to:
Pin at the center of the screen
Stagger multiple elements
Create custom animation rhythms
Experiment with different values to see what feels right for your design.
What the Final Scroll Effect Looks Like
When you preview the page:
The first image pins as you scroll
The text scrolls over it and pins next
The second image moves beneath both pinned elements
Any offsets shift when the pinning begins
The result is a smooth, layered scroll animation that feels more dynamic and modern than static blocks.
Tips for Better Stacked Layouts
Use high quality images with consistent visual style
Keep text minimal to avoid clutter
Stack 2 - 4 elements for best performance
Use spacing and alignment to avoid overlapping text
Test on mobile - pinning behaves differently on smaller screens
Final Thoughts
Stacking elements in Squarespace is an easy, code-free way to add motion and personality to your website. By using the built-in Pin tool and experimenting with offsets, you can create engaging scroll-based designs in minutes.