


Can You Build a Mailing List With Squarespace? (It’s Easier Than You Think)
If you’re currently using platforms like Mailchimp or Klaviyo for your email marketing, you might be overlooking a powerful feature built directly into Squarespace: native mailing list management.
Many website owners don’t realize that Squarespace allows you to create, manage, and segment mailing lists without needing a third-party tool. In this guide, we’ll walk you through exactly how to set up a mailing list on Squarespace, import subscribers, and send targeted email campaigns.
Why Use Squarespace for Your Mailing List?
Before diving into the setup, here’s why it’s worth considering:
No extra cost for storing contacts
Seamless integration with your website
Easy segmentation for targeted campaigns
Simple import/export functionality
Note: While email campaigns are a paid add-on, building and managing your mailing list is completely free.

Want a framework for designing the perfect homepage?

Need an expert to build your Squarespace website?
Book a free kick-off call with our team to discuss your project requirements in detail.
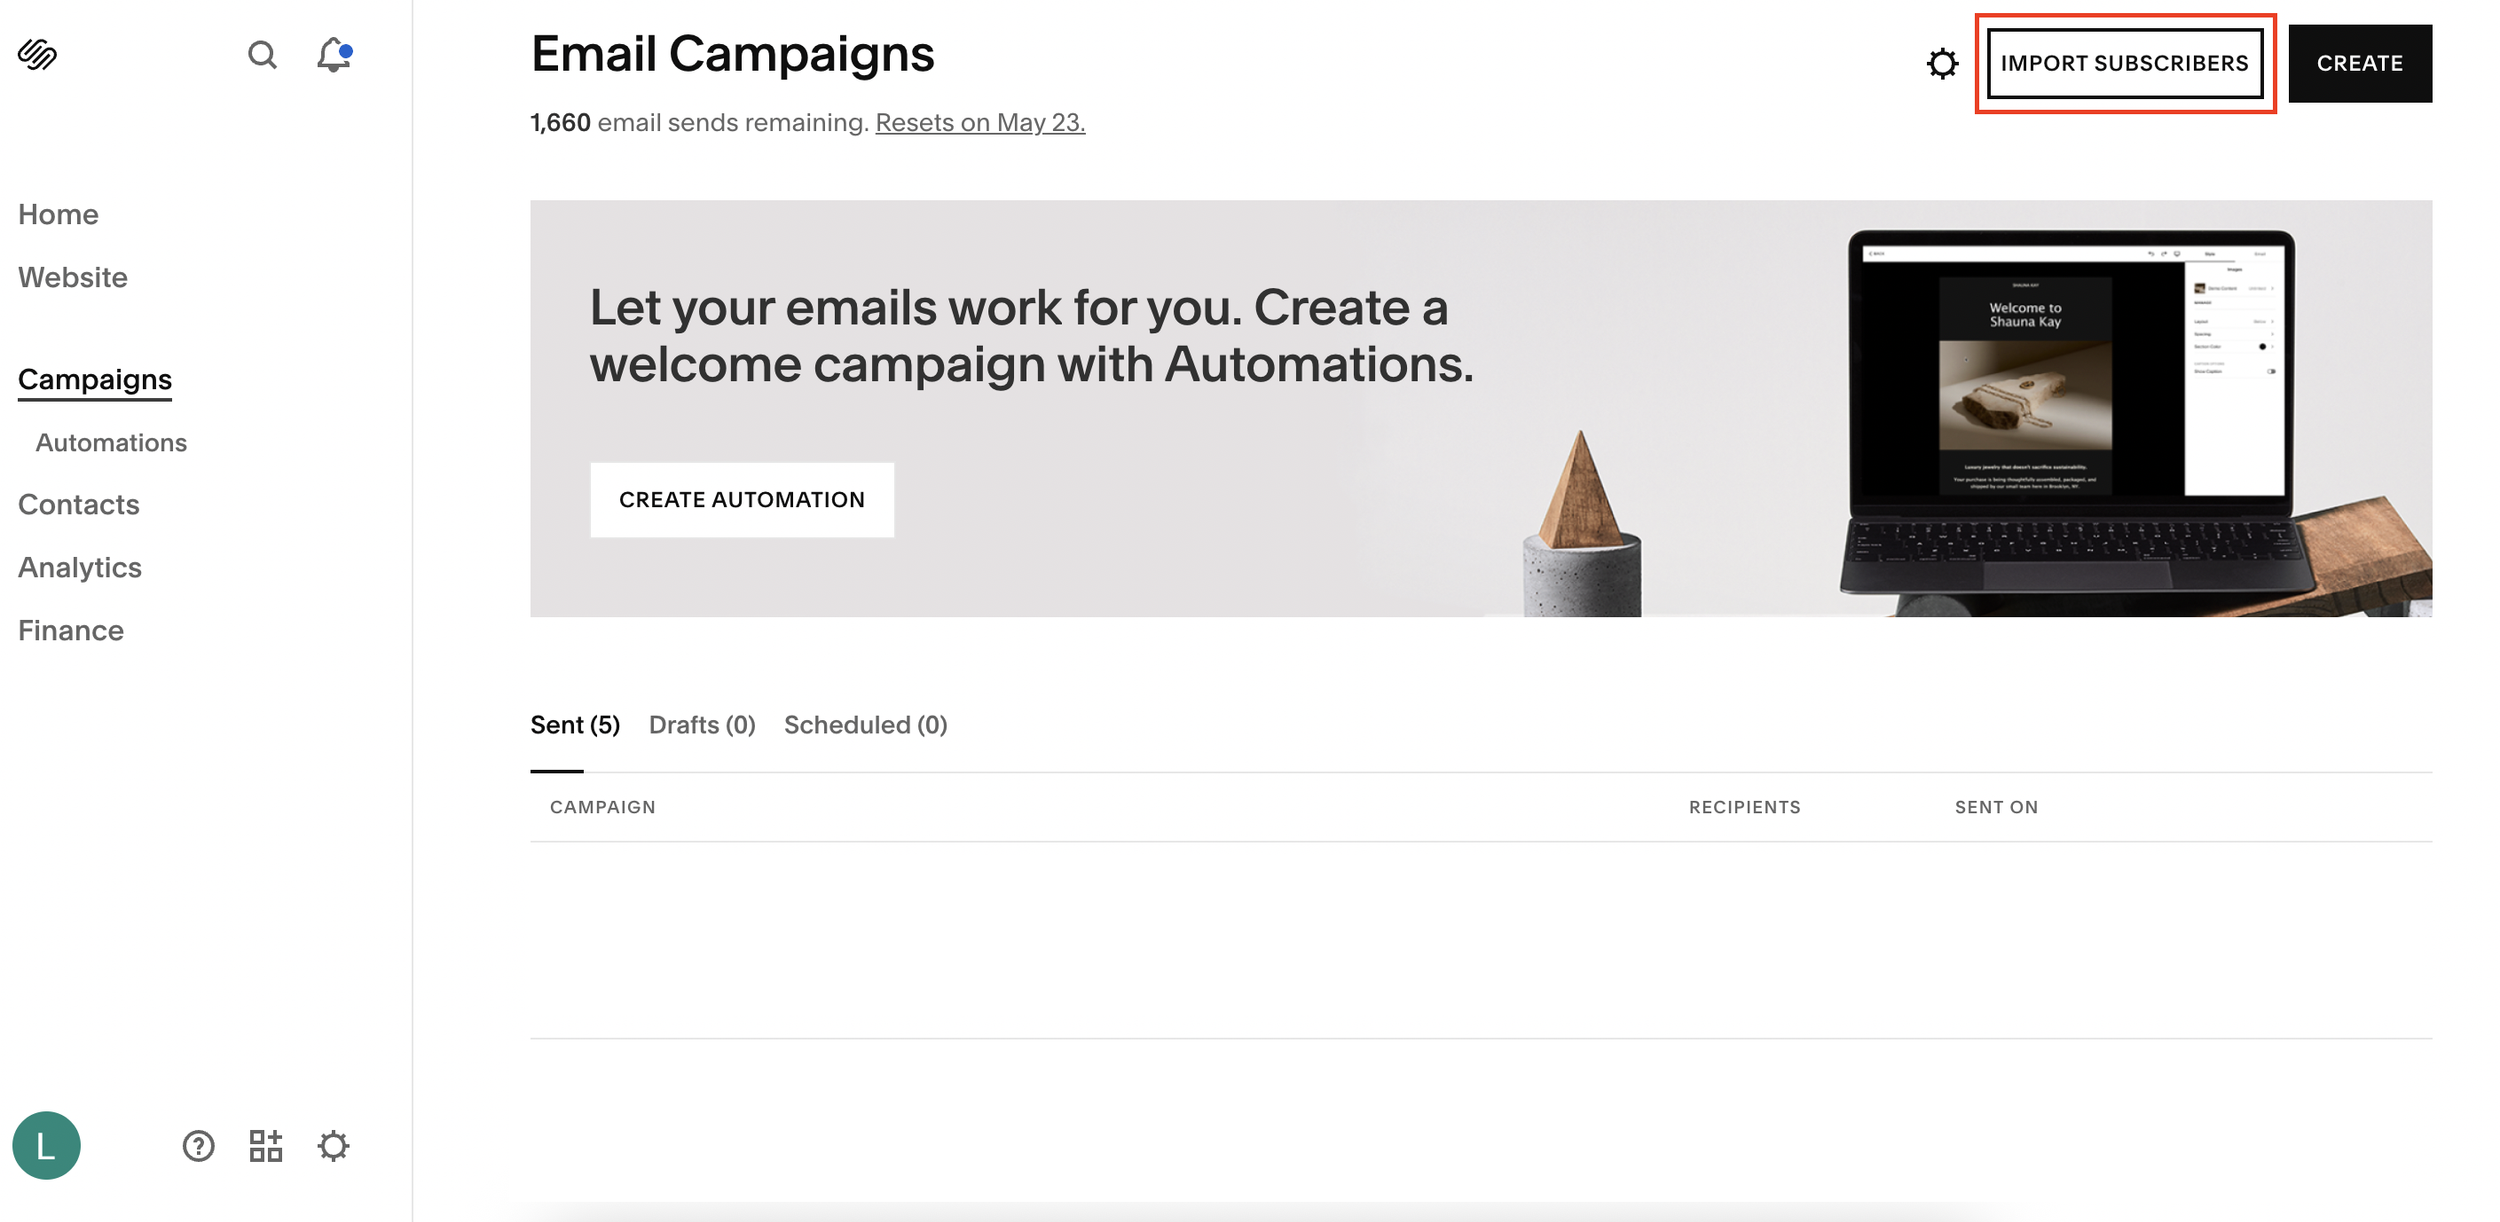
Step 1: Import or Add Subscribers
To get started, head to your Squarespace dashboard:
Navigate to Campaigns
Select the option to add subscribers
You’ll have two options:
Option A: Upload a CSV (Bulk Import)
Ideal if you’re moving from another platform
Upload your CSV file
Follow prompts to map fields and import your list
Option B: Add Individual Subscribers
Enter the subscriber’s name and email
Assign them to a mailing list (you’ll create this next)
Choose whether they’ve opted into marketing emails
Click Done
Step 2: Create a Mailing List
To organize your audience effectively, you’ll want to create specific lists or segments.
Go to Contacts
Click Lists & Segments
Select Create Mailing List
Give your list a name (e.g. “YouTube Subscribers” or “Homepage Checklist Leads”)
Click Save
You’ll now see your new list in the dashboard, where you can:
View subscribers
Track changes over time
Manage contacts easily
Step 3: Segment Your Audience
Segmentation is key to effective email marketing.
For example, you might create lists based on:
Lead magnets (e.g. “Homepage Perfection Checklist”)
Traffic sources (e.g. YouTube, blog, social media)
Customer behavior or interests
This allows you to send more relevant and personalized emails, which improves engagement and conversions.
Step 4: Send an Email Campaign
Once your list is ready, you can start sending emails.
Go back to Campaigns
Click Create Campaign
Choose a template or build your own email
Click Next
Select Your Recipients:
Choose Email
Select Unique Recipients
Pick the specific mailing list you want to target
For example, you can send a welcome email exclusively to your “YouTube” list.
Once everything looks good:
Click Send to Recipients
Step 5: Export Your Mailing List (Optional)
If you ever decide to switch platforms:
Go to Contacts > Lists & Segments
Select your list
Export your subscribers
This ensures you always own your data and can move it with you.
Key Takeaways
Squarespace lets you build mailing lists for free
You can import subscribers via CSV or add them manually
Lists and segments help you target the right audience
Email campaigns are a paid feature, but optional
You can export your contacts anytime
Final Thoughts
If you’re already using Squarespace, there’s no need to rely entirely on external email platforms, especially when it comes to collecting and organizing subscribers.
Setting up your mailing list directly within Squarespace is quick, efficient, and a great way to streamline your workflow.