


How to Use Layers in Squarespace: A Step-by-Step Guide to Stacking Elements in Your Website Design
Squarespace regularly releases new features that make designing beautiful websites easier. One powerful design feature is Layers, which allows you to control how elements overlap on your page.
In this guide, you’ll learn how to move elements forward or backward, stack content creatively, and improve readability using shapes and layers in Squarespace.
What Are Layers in Squarespace?
Layers determine which elements appear in front of or behind others on your page. This feature is especially useful when you want to create modern overlapping layouts, such as text partially covering images or design shapes behind content.
By adjusting layers, you can control the visual hierarchy of your website and create more dynamic designs.

Want a framework for designing the perfect homepage?

Need an expert to build your Squarespace website?
Book a free kick-off call with our team to discuss your project requirements in detail.
Step 1: Open the Squarespace Editor
To begin working with layers:
Open your website inside the Squarespace editor.
Click Edit on the section where your elements overlap.
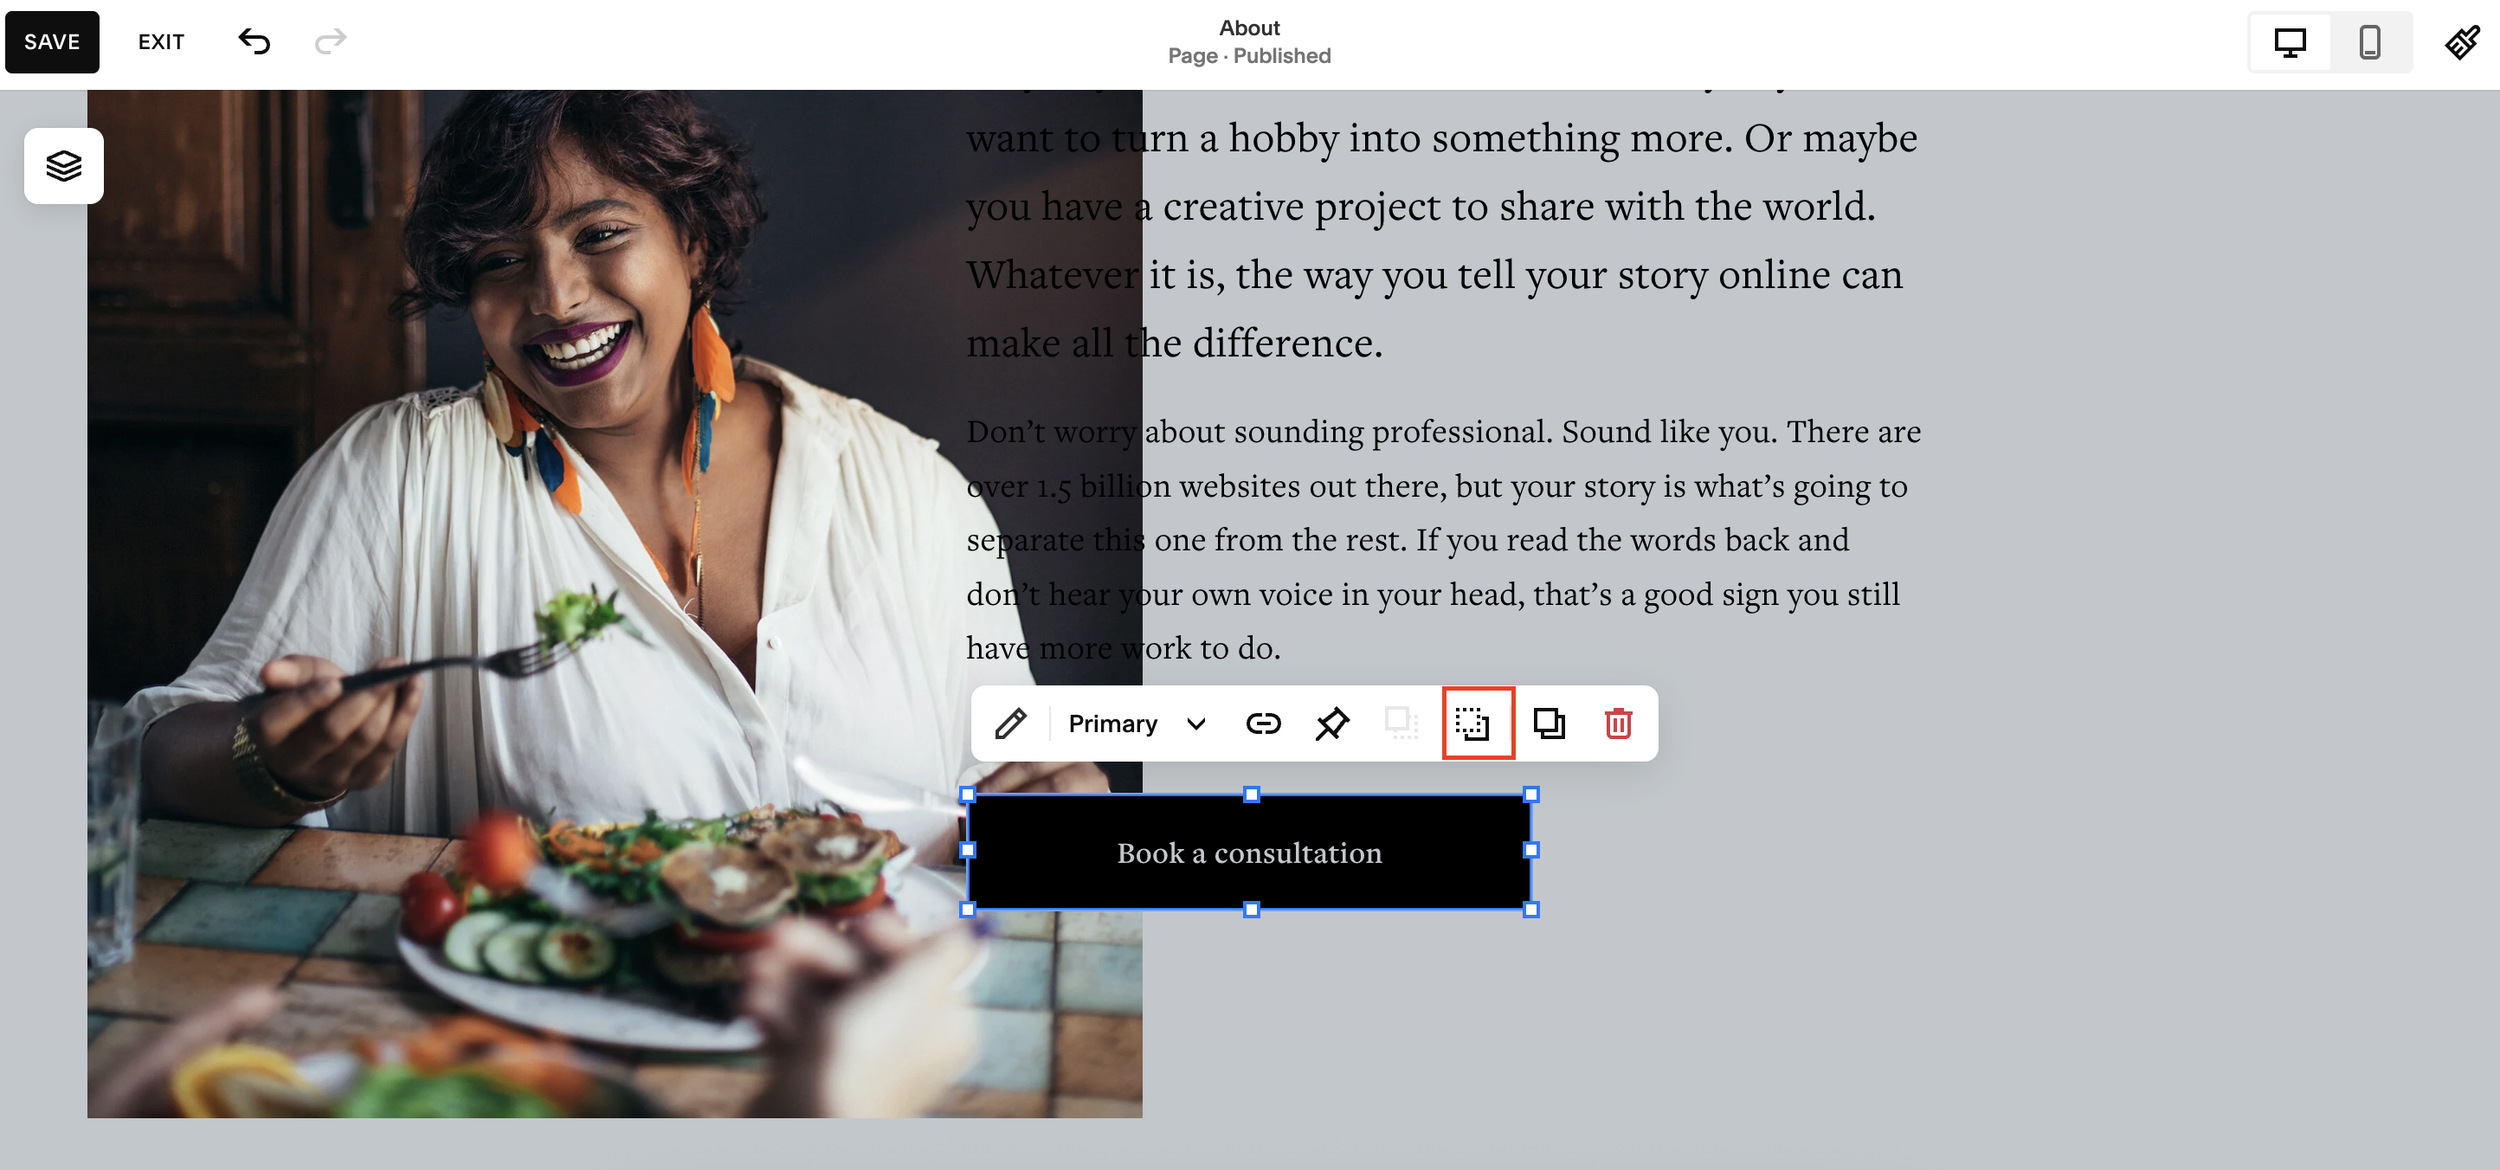
You’ll now be able to select individual elements like images, text blocks, or shapes and change their position in the layer stack.
Step 2: Move Elements Forward or Backward
If you want one element to appear behind another:
Click on the element you want to adjust.
Use the Move Backward option to send it behind another element.
For example, if you have text sitting on top of an image, you can move the text backward so the image sits above it.
Similarly, you can select Bring Forward if you want an element to appear on top of everything else.
Step 3: Create Overlapping Designs
Layers allow you to create stylish overlapping layouts.
For example, you might want:
Text that slightly overlaps an image
A design element partially covering another block
A modern card-style layout with stacked content
To do this:
Click the element.
Drag it to the desired position.
Adjust the layer order so it sits above or below other elements.
This technique helps you create more visually interesting sections instead of standard stacked blocks.
Step 4: Improve Readability with Shape Blocks
Sometimes overlapping text and images can cause legibility issues.
A simple solution is adding a shape block behind the text.
Here’s how:
Add a Shape Block.
Place it behind your text.
Change the shape color (for example, white).
Resize it so it sits behind the text and overlaps the image.
This creates a clean background layer, making your text easier to read while maintaining the layered design.
Step 5: Use the Layers Panel for Full Control
Squarespace also provides a Layers panel, which shows the hierarchy of all elements in your section.
From this panel you can:
Drag elements higher or lower in the stack
Place items between other layers
Send shapes behind everything
Temporarily hide elements using the visibility (eye) icon
This bird’s-eye view makes it easier to understand how your design elements interact.
Step 6: Preview Your Design
Once you’ve arranged your layers:
Click Preview to see how the layout looks on your site.
Check that elements overlap correctly and remain readable.
Click Save when you're happy with the result.
Tips for Designing with Layers
To get the best results from layering in Squarespace:
Keep text readable by adding shapes or backgrounds behind it
Avoid excessive overlap, which can make layouts confusing
Use layers to guide attention toward key content
Preview on mobile to ensure the design still works on smaller screens
Final Thoughts
The Layers feature in Squarespace opens up new creative possibilities for your website design. By adjusting the stacking order of elements, you can create modern overlapping layouts, highlight key content, and improve visual storytelling on your pages.
Once you understand how to move elements forward, send them backward, and manage the layers panel, building more sophisticated designs becomes quick and intuitive.