
Add an Admin Onto a Squarespace Website (Quick Tutorial)
If you’re anything like me, you’re constantly adding new people to your website. Whether it’s a blog writer, a developer making edits, or a designer updating specific pages, giving the right people access to your Squarespace site is essential.
Surprisingly, a lot of users don’t actually know how to properly add an admin or contributor to a Squarespace website. In this guide, I’ll walk you through the exact steps to do it quickly and correctly.
Why You Might Need to Add an Admin or Contributor in Squarespace
Adding contributors to your Squarespace site allows you to:
Delegate blog writing and content updates
Give developers or designers access to make changes
Control exactly what each person can edit
Save time by not handling everything yourself
Squarespace offers flexible permission settings, so you can give full admin access or limit contributors to specific areas of the site.

Want a framework for designing the perfect homepage?

Need an expert to build your Squarespace website?
Book a free kick-off call with our team to discuss your project requirements in detail.
How to Add an Admin to a Squarespace Website
Follow these simple steps to add an administrator or contributor to your Squarespace site.
1. Go to Your Squarespace Settings
Log in to your Squarespace account
Open the website you want to manage
Click Settings from the main menu
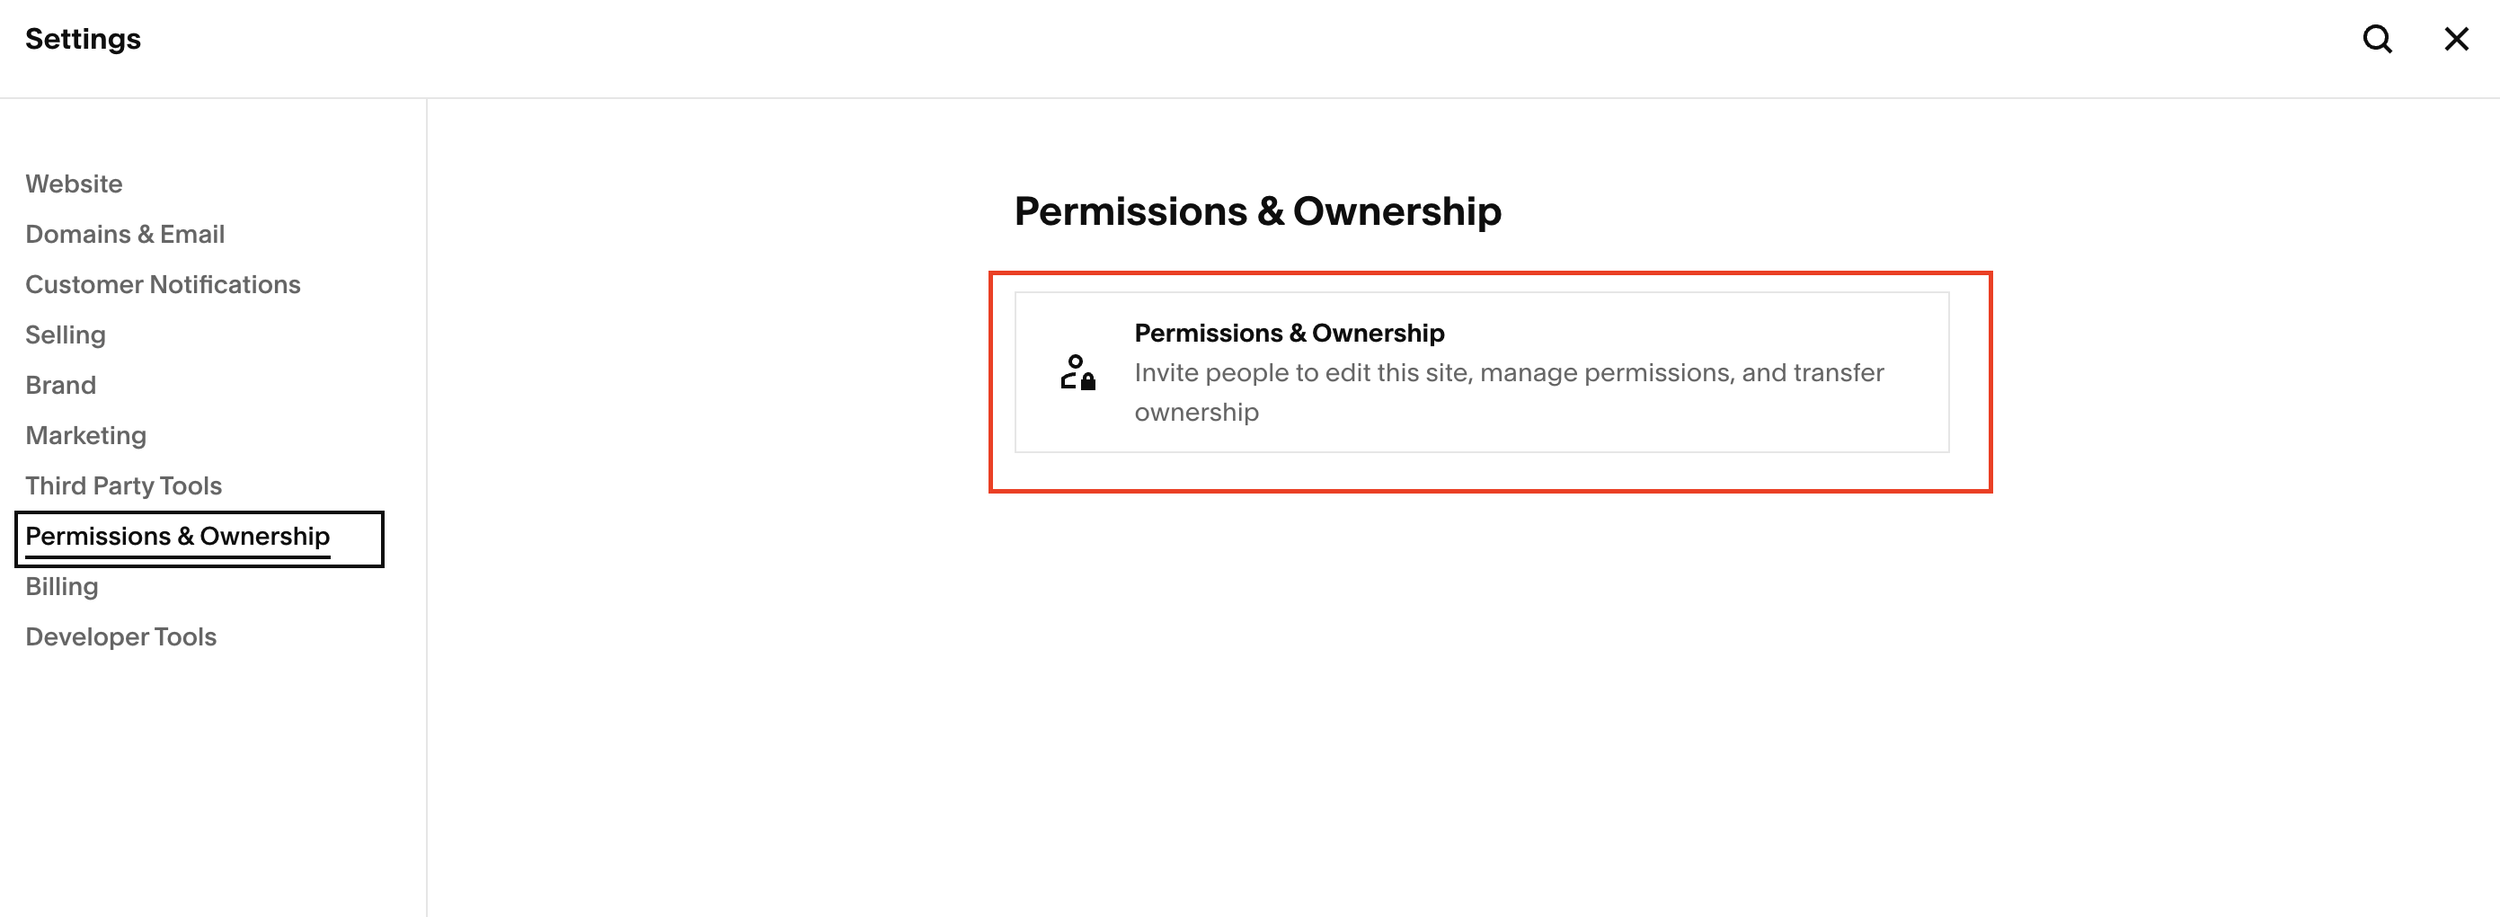
2. Navigate to Permissions and Ownership
Scroll down and select Permissions & Ownership
Click into it (yes, there’s an extra click here for some reason)
3. Invite a Contributor
Click Invite Contributor
Squarespace will ask you to verify your identity
Choose Continue with Google (or another verification option)
Select the email account you want to authenticate
Once authenticated, you’ll be able to add new contributors.

Choosing the Right Permission Level
After entering the contributor’s email address, you’ll need to assign their role.
Administrator Access
Toggle Administrator to give full access
This provides blanket permissions across the entire site
Best for trusted partners, developers, or long-term collaborators
Custom Permissions
If you don’t want full admin access, you can assign granular permissions
Control access to:
Blog posts
Pages
Design
Commerce
Settings
This is ideal if someone only needs to manage specific parts of your site.
Sending the Invitation
Once you’re happy with the permissions, click Invite
You’ll see a confirmation showing the invite has been sent
When the contributor accepts, they’ll appear under Contributors, along with their permission level (for example, Administrator).
Final Thoughts
Adding an admin or contributor to Squarespace is quick once you know where to look—but it’s not always obvious if you’ve never done it before. With the right permissions in place, you can safely grow your team and keep your website running smoothly.