


Create a Thank You Page After Form Submission on Squarespace
When someone submits a form on your Squarespace website, the default thank-you message is underwhelming. It’s usually just a simple “Thank you” text on the same page, which feels unfinished and does little to build trust with your visitors.
That’s why creating a dedicated thank you page in Squarespace is such a powerful move. Instead of sending users away with a bland message, you can guide them deeper into your ecosystem, showcase your credibility, and even encourage them to take the next step with your business.
In this guide, I’ll walk you through why you should create a custom thank you page in Squarespace and how to build one that converts.
Why a Custom Thank You Page Matters
A dedicated thank you page can:
Build trust: Highlight testimonials, awards, or case studies right after someone shows interest.
Keep users engaged: Encourage visitors to explore your FAQs, newsletter, or resources instead of leaving.
Increase conversions: Add links to book a consultation or call directly from the thank you page.
Think of it as the first touchpoint after someone has taken action. It’s your chance to reassure them they’ve made the right choice.

Want a framework for designing the perfect homepage?

Need an expert to build your Squarespace website?
Book a free kick-off call with our team to discuss your project requirements in detail.
Step 1: Design Your Thank You Page
Here’s a simple structure you can use when creating your thank you page in Squarespace:
Headline & Message - e.g. “Thank you for getting in touch! We’ll respond within 24 hours.”
Social Proof & Accolades - Showcase reviews, awards, or stats (e.g. “We’ve built over 700 Squarespace websites with 5-star reviews”)
Use image blocks for visual badges or laurels.
Call to Action (CTA) - Offer a 15-minute discovery call with a booking form or invite users to sign up for your newsletter.
FAQs Section - Answer common questions so leads feel informed before you follow up.
Step 2: Add Newsletter Signup or Booking Options
To encourage ongoing engagement, add one (or more) of these options:
Newsletter Signup: Use Squarespace’s newsletter block to keep leads in your ecosystem.
Booking Form: Embed a scheduling tool like Calendly, Cal.com, or Squarespace’s built-in Acuity Scheduling block.
Example: Add a code block to embed Calendly or simply drag in the Acuity Scheduling block if you’re using Squarespace’s native tool.
Step 3: Link Your Form to the Thank You Page
Now that your thank you page is ready, you need to redirect form submissions to it.
Here’s how:
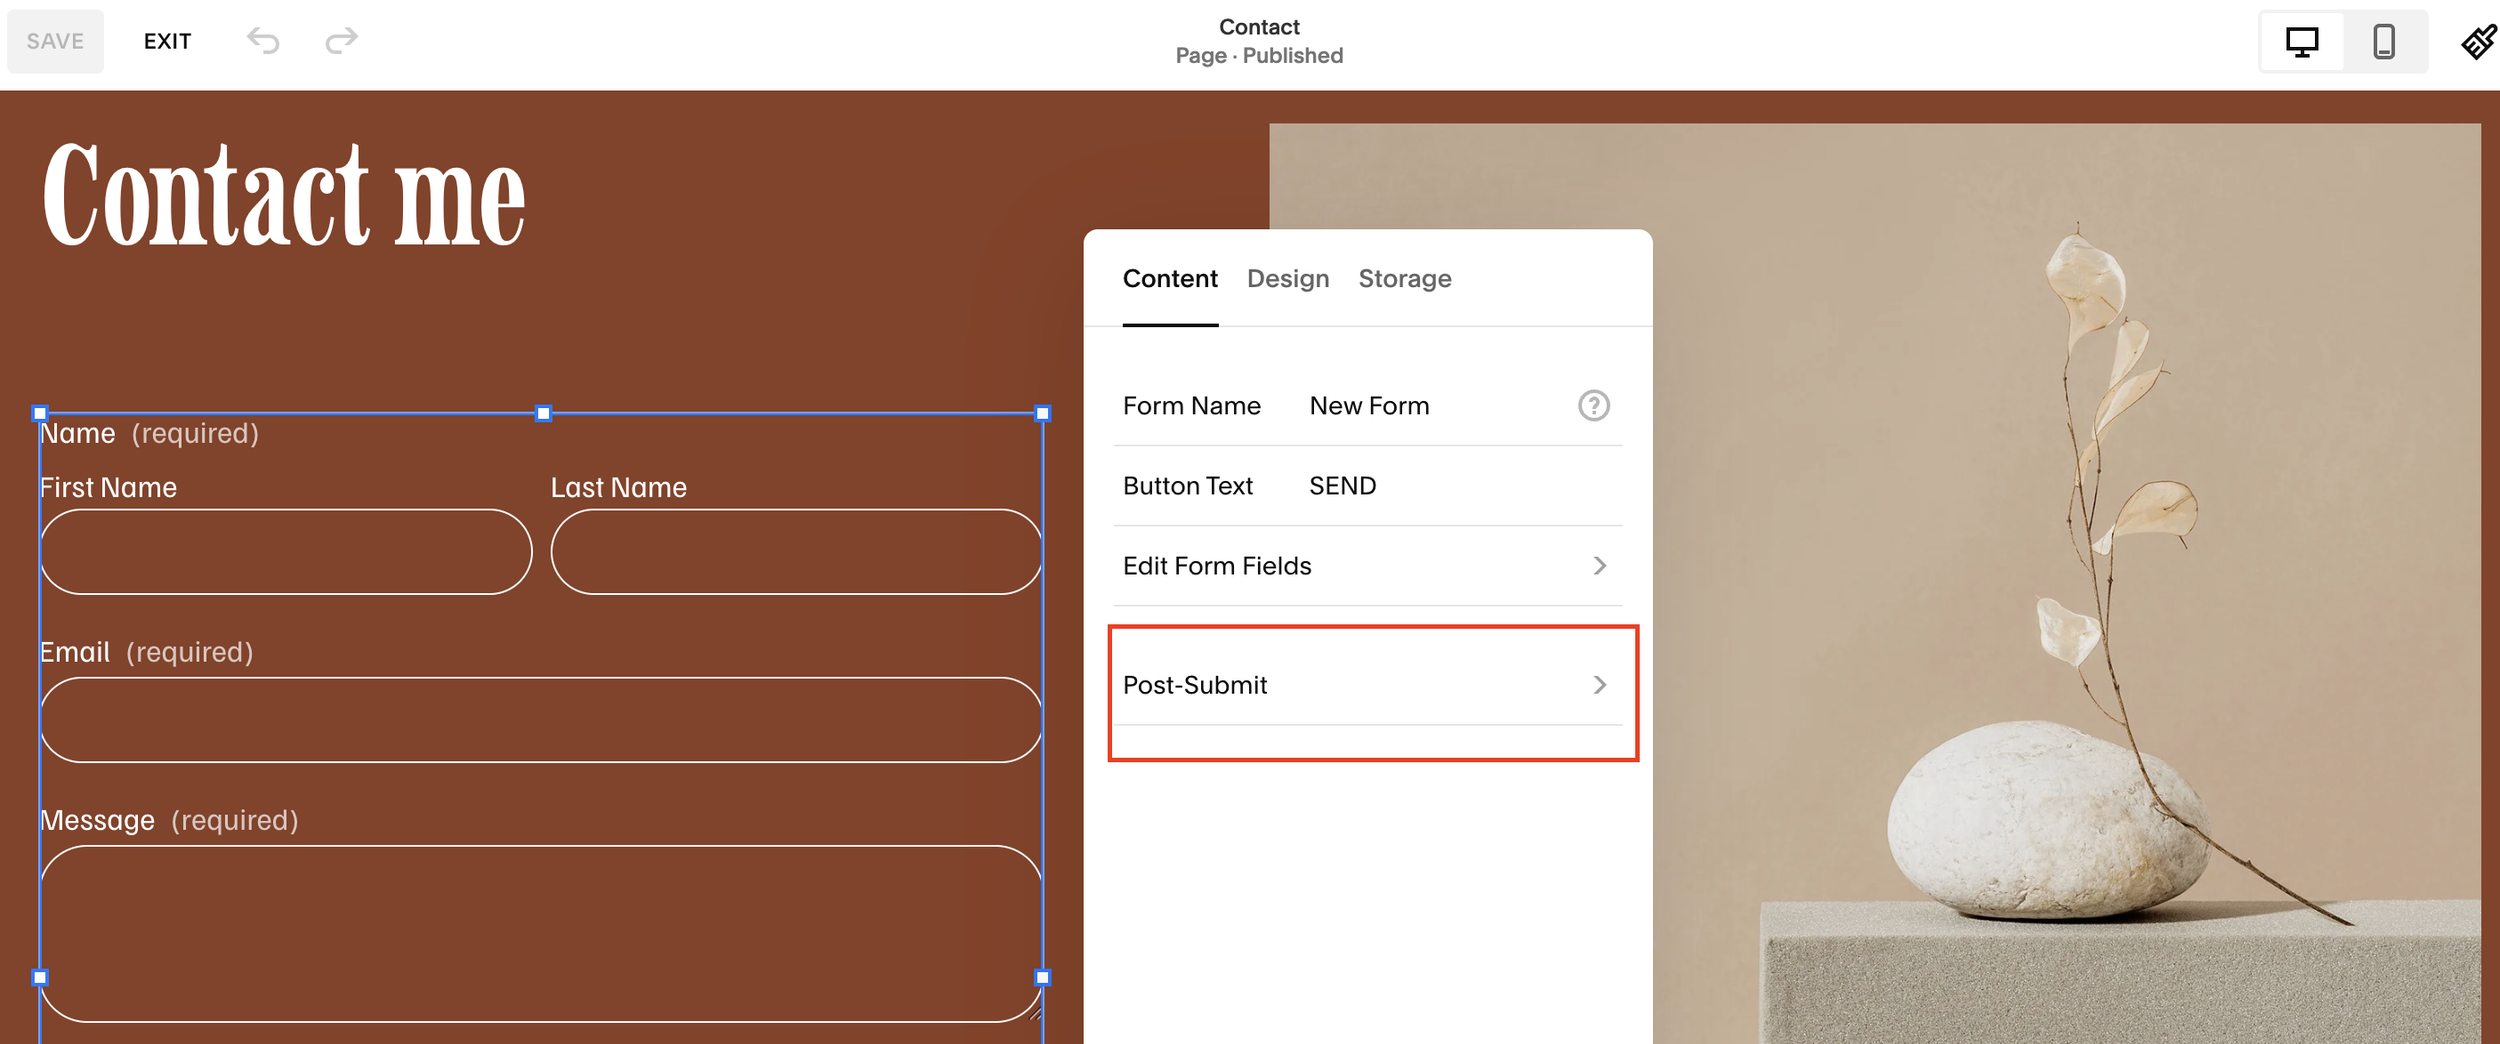
Open the Contact Page where your form lives.
Double-click the form block to edit it.
Scroll to Post-Submit Options.
Select Redirect instead of “Message.”
Enter the URL slug of your thank you page (e.g. /thank-you).
Now, when someone submits the form, they’ll be redirected to your beautifully designed thank you page.
Example of a High-Converting Thank You Page
A strong thank you page might include:
A warm thank-you message with response time.
Badges, reviews, or client logos to showcase credibility.
A link to book a call or strategy session.
Newsletter signup to keep the connection alive.
FAQs to answer key questions before your first reply.
This transforms a basic form submission into the beginning of a relationship.
Final Thoughts
Squarespace’s default thank-you message doesn’t do your brand justice. By creating a custom thank you page in Squarespace, you can build trust, showcase authority, and drive users toward the next step,whether that’s booking a call, subscribing to your newsletter, or exploring your content.
It’s a small step that can make a huge impact on client conversions.