


Set Up a Members-Only Area in Squarespace
Squarespace rolled out Members Areas a while back, and since then, the feature has become one of the best ways to monetize content or build a private community. Whether you want to create a paywall for online courses, sell premium content, or collect emails for free resources, Members Areas give you a flexible way to grow your business.
In this guide, I’ll walk you through exactly how to set up a Squarespace Members Area, create pricing plans, and design a signup flow that looks professional and converts.
What Are Squarespace Members Areas?
A Members Area is a private section of your Squarespace site where visitors need to either sign up for free or pay a subscription to access your content.
You can use it for:
Online courses
Paid newsletters or blogs
Exclusive resources or downloads
Client portals
Telehealth or coaching services
The best part is you can decide whether access is completely free (to grow your email list) or paid (to monetize your content).

Want a framework for designing the perfect homepage?

Need an expert to build your Squarespace website?
Book a free kick-off call with our team to discuss your project requirements in detail.
Step 1: Create a Members Area in Squarespace
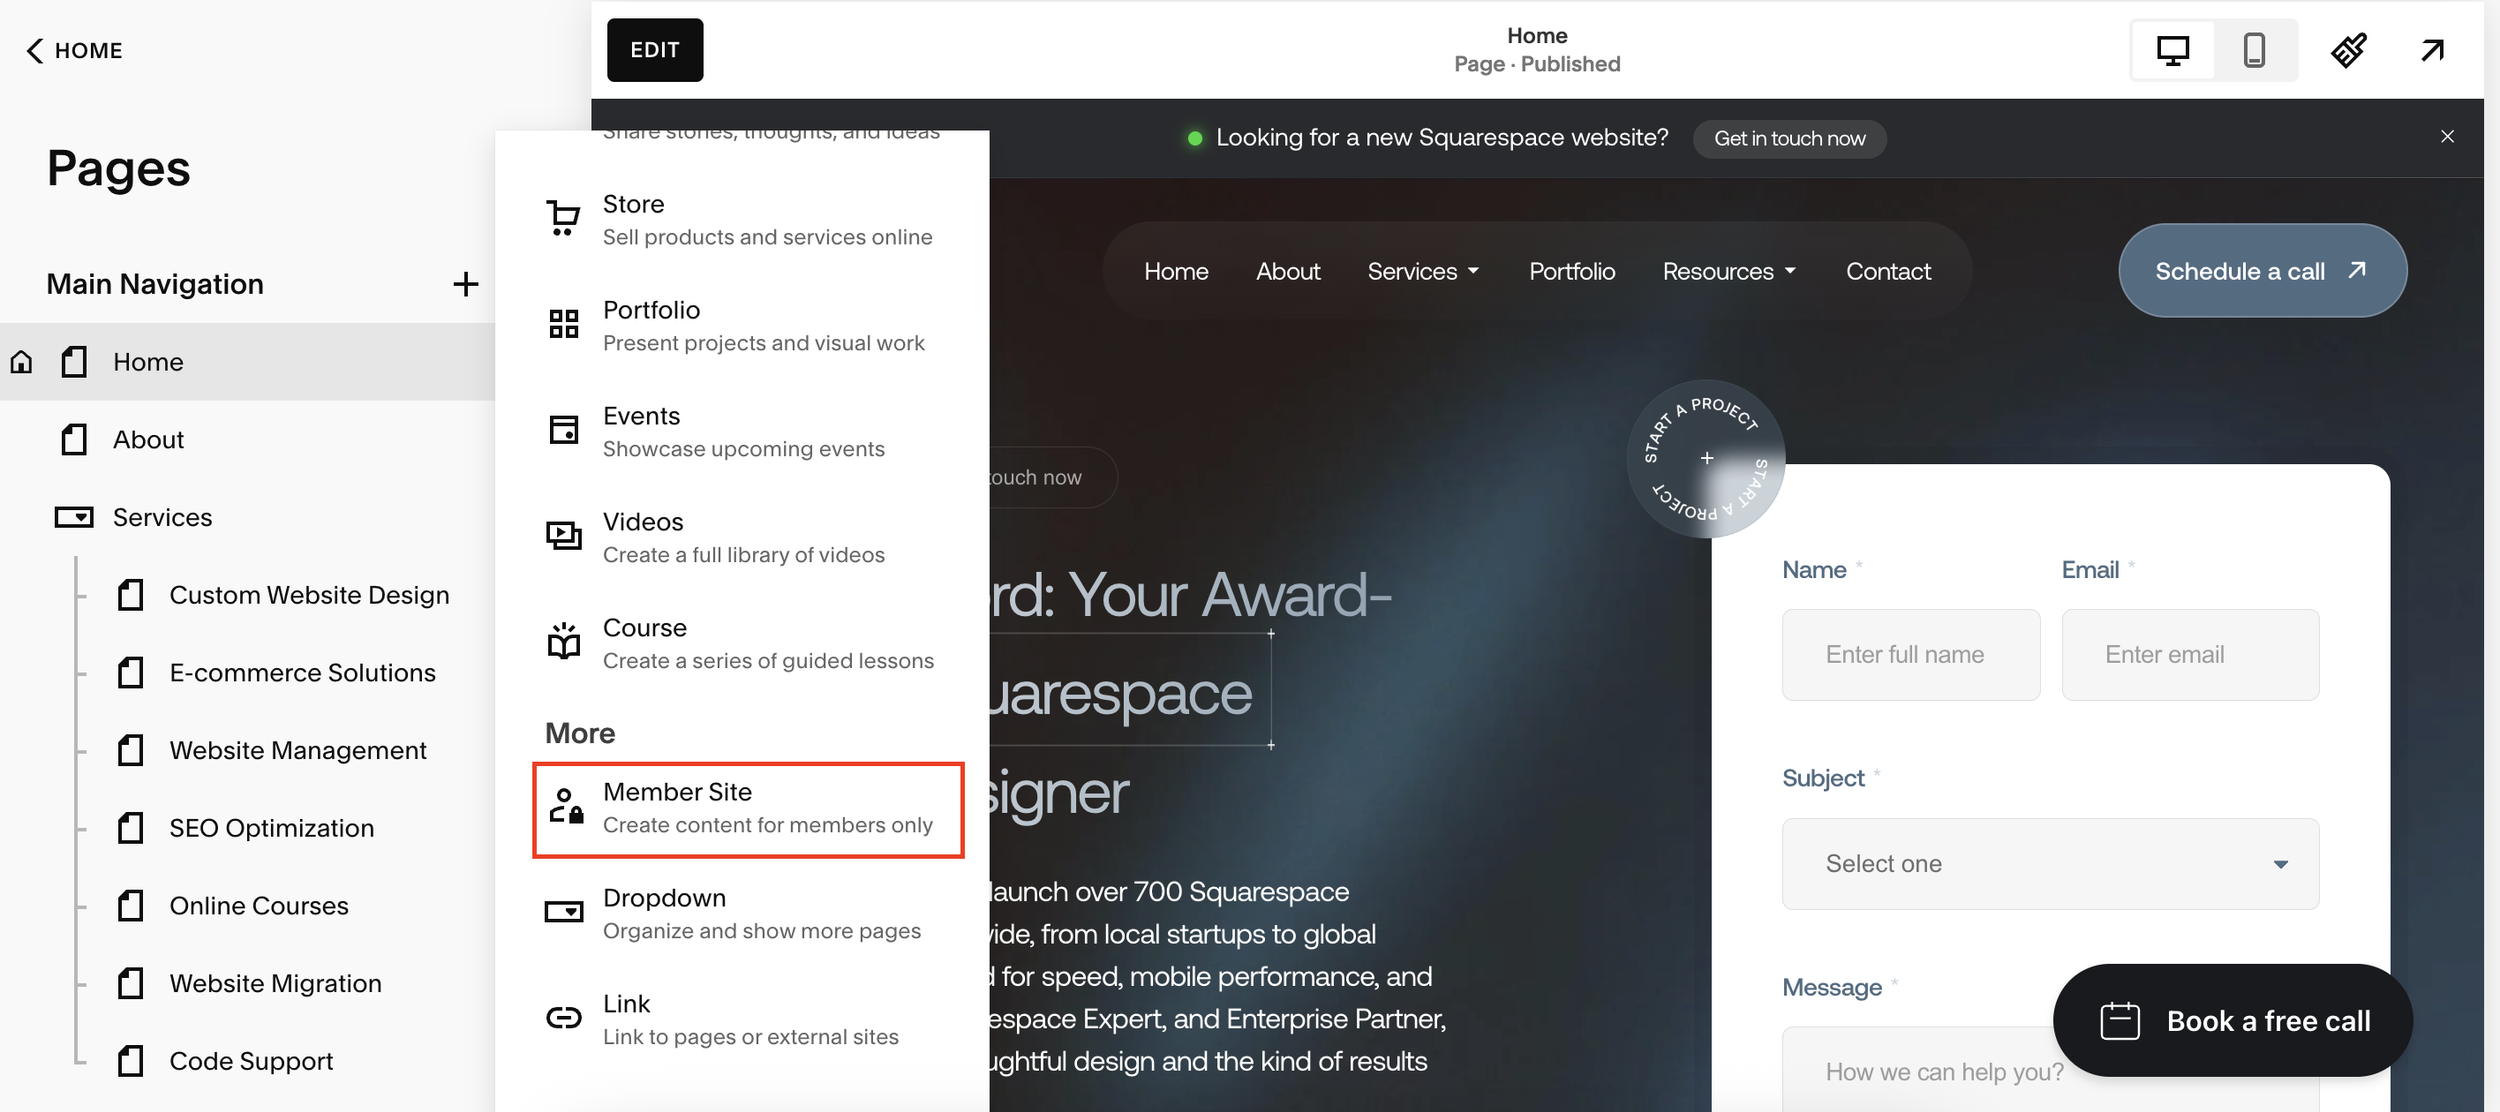
In your Squarespace dashboard, go to Pages.
Click the + button and under “More” select Member Area.
Choose a template. (Don’t worry, you can customize it later.)
Name your Members Area (e.g. “Sam’s Members”).
You’ll notice that Members Areas appear in their own navigation section, separate from your main site pages.
Step 2: Add a Pricing Plan
Before launching your Members Area, you’ll need to create a pricing plan.
Go to Pricing Plans and click Create Plan.
Options include:
Fixed one-time fee
Monthly or yearly subscription
Free access
For example, you might start with a free plan called “Free Entry” to encourage signups, then later introduce a paid plan for premium content.
Step 3: Customize the Members Homepage
Your Members Area automatically comes with a homepage. By default, it’s just a normal Squarespace page, but visitors will need to log in or sign up to see it.
The paywall screen is fairly basic, so instead of relying on it, you’ll want to create a custom sales page.
Step 4: Build a Sales Page That Converts
Create a new blank page in your main navigation (e.g., “Join Now” or “Members Access”).
Add a heading like “Sign Up for My Members Area.”
Insert a Digital Product block and link it to your chosen pricing plan.
Now, when visitors land on your sales page, they’ll see a clear signup option that looks far more professional than the default paywall.
Step 5: Add Content to Your Members Area
Once users sign up, you can add any type of content inside the Members Area. Popular options include:
Courses (video lessons, resources, downloads)
Private blog posts
Client contact forms
Exclusive stores or portfolios
For example, I worked with a telehealth client who offered free membership for initial contact, then upgraded clients into a paid plan for ongoing services.
Step 6: Create Paid Plans (Optional)
If you want to monetize your Members Area, you can easily set up multiple tiers:
A free entry plan to build your email list.
A paid subscription plan (e.g. $100/month).
A fixed installment plan (e.g. 12 monthly payments for a year-long program).
This flexibility makes Squarespace a powerful platform for creators, coaches, and service providers.
Final Thoughts
Squarespace Members Areas are a game-changer for content creators, coaches, and small businesses. Whether you’re offering free resources, selling online courses, or creating a private community, this feature allows you to build a professional paywall system without any third-party tools.