


Connecting Stripe & PayPal to Squarespace Checkout
So, you’ve set up your Squarespace e-commerce store - congratulations!
But now comes the tricky part: getting paid. Many Squarespace users find this confusing because payment settings are tucked away across different menus.
Don’t worry, we’ll cut through the clutter and show you exactly how to connect PayPal and Stripe to start accepting payments online.
Why Connecting Payments on Squarespace Can Be Confusing
Squarespace’s menu system has multiple sections for products, services, memberships, and finance, which can make it hard to know exactly where to set up payments. The good news is, it’s simpler than it looks.
The key points to remember:
You must be on a live site to connect payment processors (trial accounts won’t work).
For online payments, PayPal and Stripe are your main options.
Square is only for US-based point-of-sale transactions—it cannot be used for online payment processing.

Want a framework for designing the perfect homepage?

Need an expert to build your Squarespace website?
Book a free kick-off call with our team to discuss your project requirements in detail.
Step 1: Navigate to Payments in Squarespace
Go to your Squarespace dashboard.
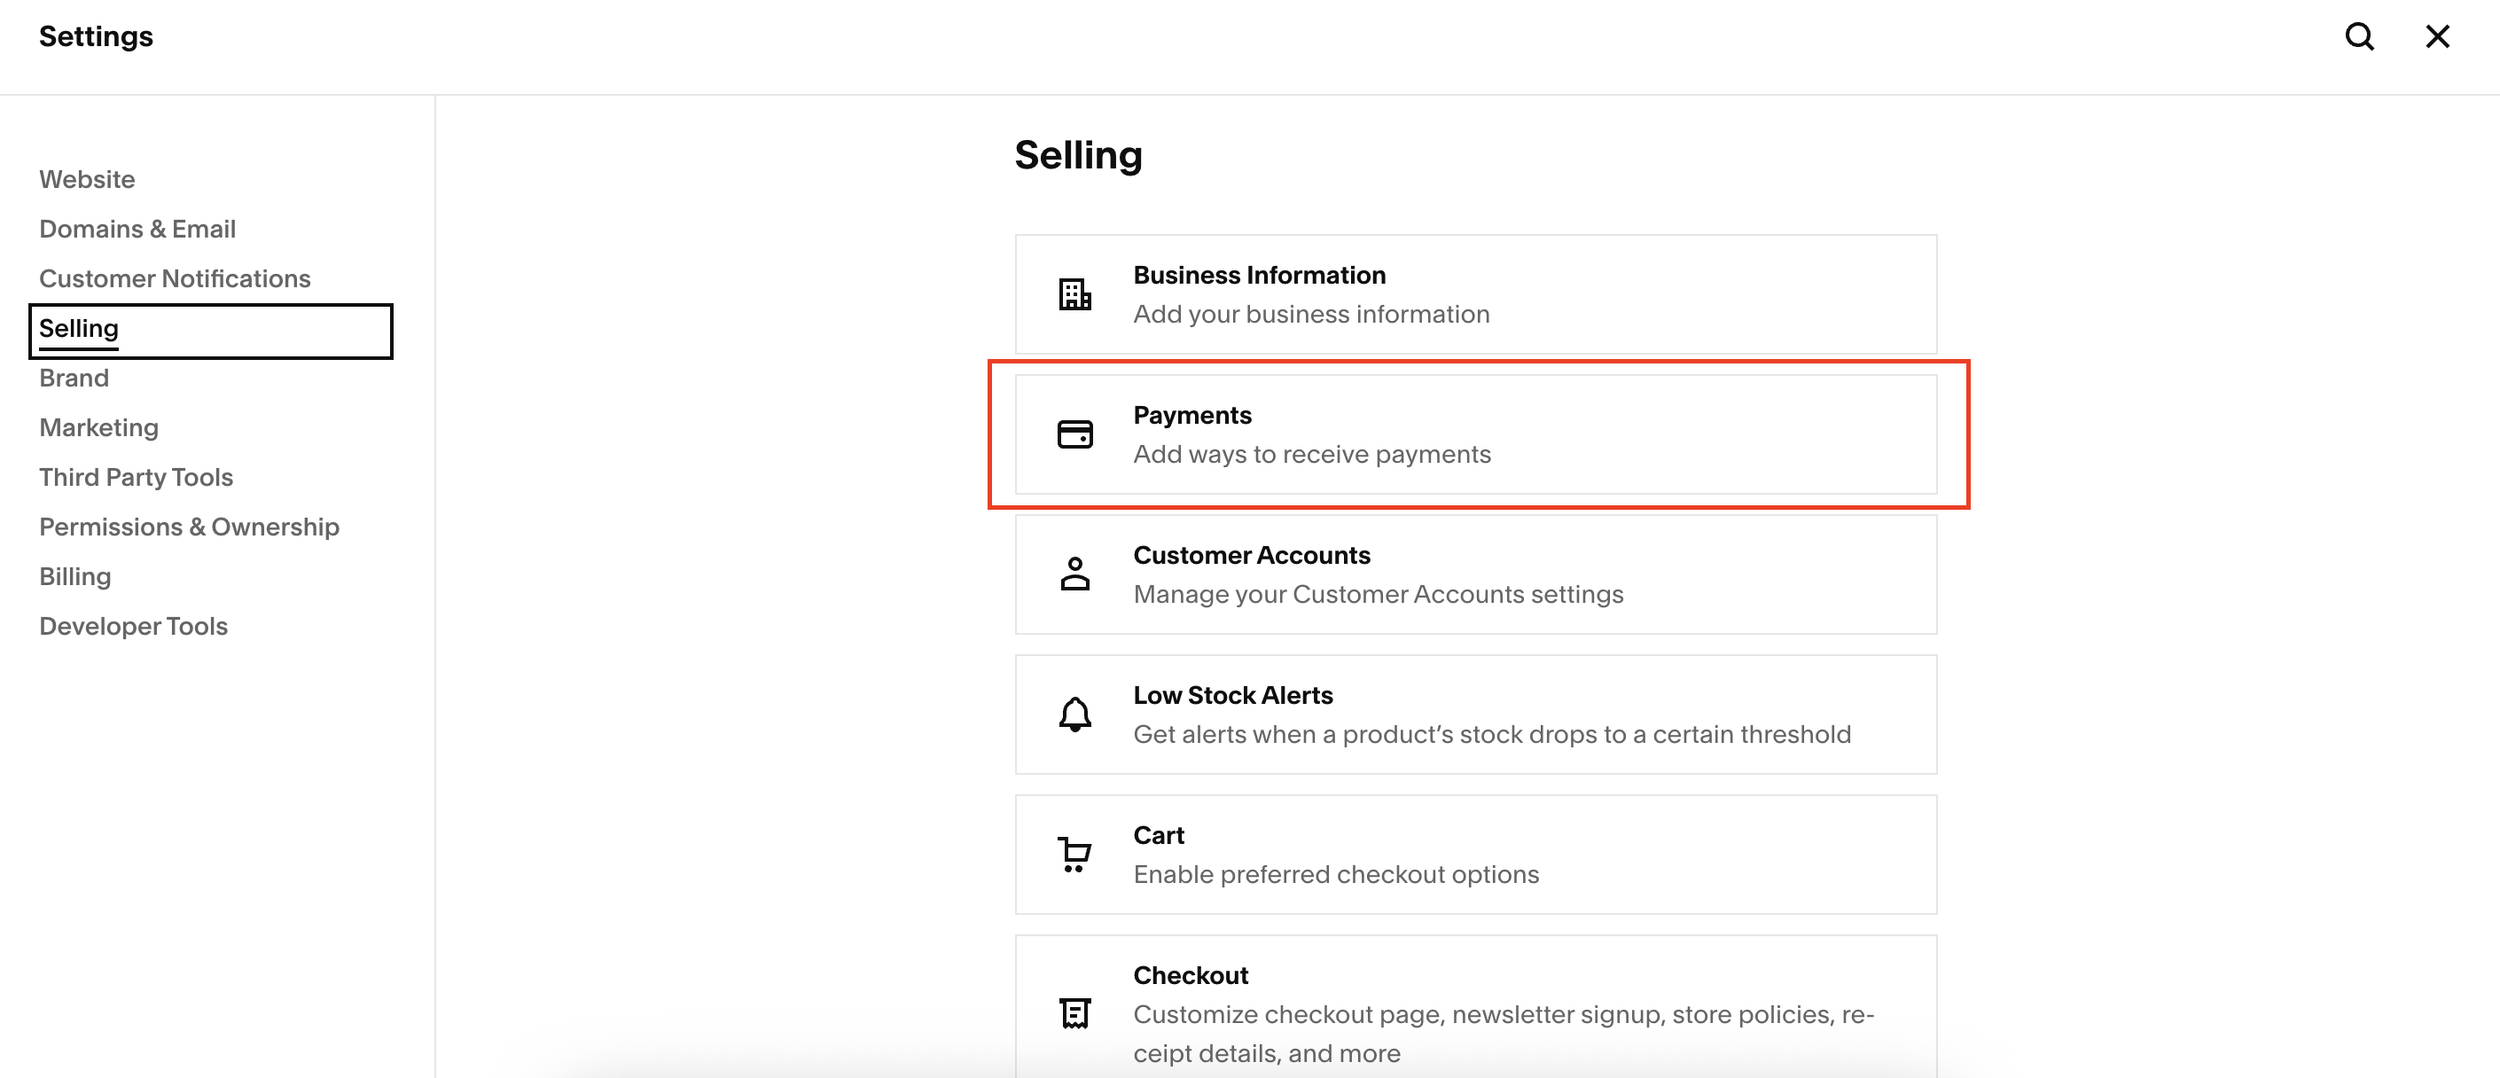
Click on Settings.
Select Selling > Payments.
Here, you’ll see the main options: Stripe, PayPal, and Square. For most businesses, you’ll focus on Stripe and PayPal.
Step 2: Connect Your PayPal Account
Click Connect under PayPal.
You’ll be redirected to PayPal’s login page.
Enter your PayPal email and country, then log in.
Follow the prompts to authorize Squarespace to access your account.
Once connected, Squarespace will return you to the Payments page.
That’s it! Your PayPal account is now linked and ready to receive payments.
Step 3: Connect Your Stripe Account
Click Connect under Stripe.
You’ll be redirected to Stripe’s site.
Enter your email address and log in, or create a new Stripe account if you don’t have one.
Follow the prompts and click Connect.
You’ll be returned to Squarespace, where Stripe will now appear as connected.
With Stripe, you can also enable multiple payment options like:
Apple Pay
Google Pay
Klarna
Afterpay / Clearpay
This flexibility allows your customers to pay in the way that’s easiest for them.
Step 4: Confirm Your Payment Settings
Go back to Settings > Selling > Payments.
Both PayPal and Stripe should now show as Connected.
You can toggle additional payment options on or off according to your business needs.
Tips for a Smooth Payment Setup
Always ensure your site is live before attempting to connect any payment processor.
If you run into trouble, check your Squarespace billing settings to make sure there are no pending account issues.
Remember that PayPal and Stripe handle different types of payments, so consider enabling both to maximize convenience for your customers.
This setup ensures you get paid quickly and professionally while keeping the checkout experience seamless.