


Creating a Client Portal With Squarespace Password Pages
If you run a business that works directly with clients, you’ve probably thought about setting up a private client portal. Whether it’s to share resources, documents, forms, or updates, a client portal can save you time and improve your client experience.
The good news? You don’t need complicated third-party software. You can build a secure and professional client portal in Squarespace using built-in tools.
In this guide, I’ll walk you through two methods:
A general client portal where all clients use the same login.
Individual client portals with unique pages and passwords for each client.
Why Create a Client Portal in Squarespace?
Using Squarespace for your client portal comes with big advantages:
No extra costs - included in your existing Squarespace subscription.
Password-protected access - easy to control who sees what.
Branded experience - consistent with your website’s look and feel.
Flexible content - add forms, galleries, downloads, or videos.

Want a framework for designing the perfect homepage?

Need an expert to build your Squarespace website?
Book a free kick-off call with our team to discuss your project requirements in detail.
Method 1: Create a General Client Portal for All Clients
This approach works well if you want a single page where all clients log in to access resources.
Step 1: Create the Portal Page
In the Squarespace dashboard, go to Pages > Not Linked.
Click the + and choose a Page Layout.
Name it something like “Portal General.”
Step 2: Add Content to the Page
Edit the page and add sections/blocks depending on what you need.
Examples:
Form Block - allow clients to get in touch.
Gallery Block - share images or documents.
Text/Video Blocks - display important updates.
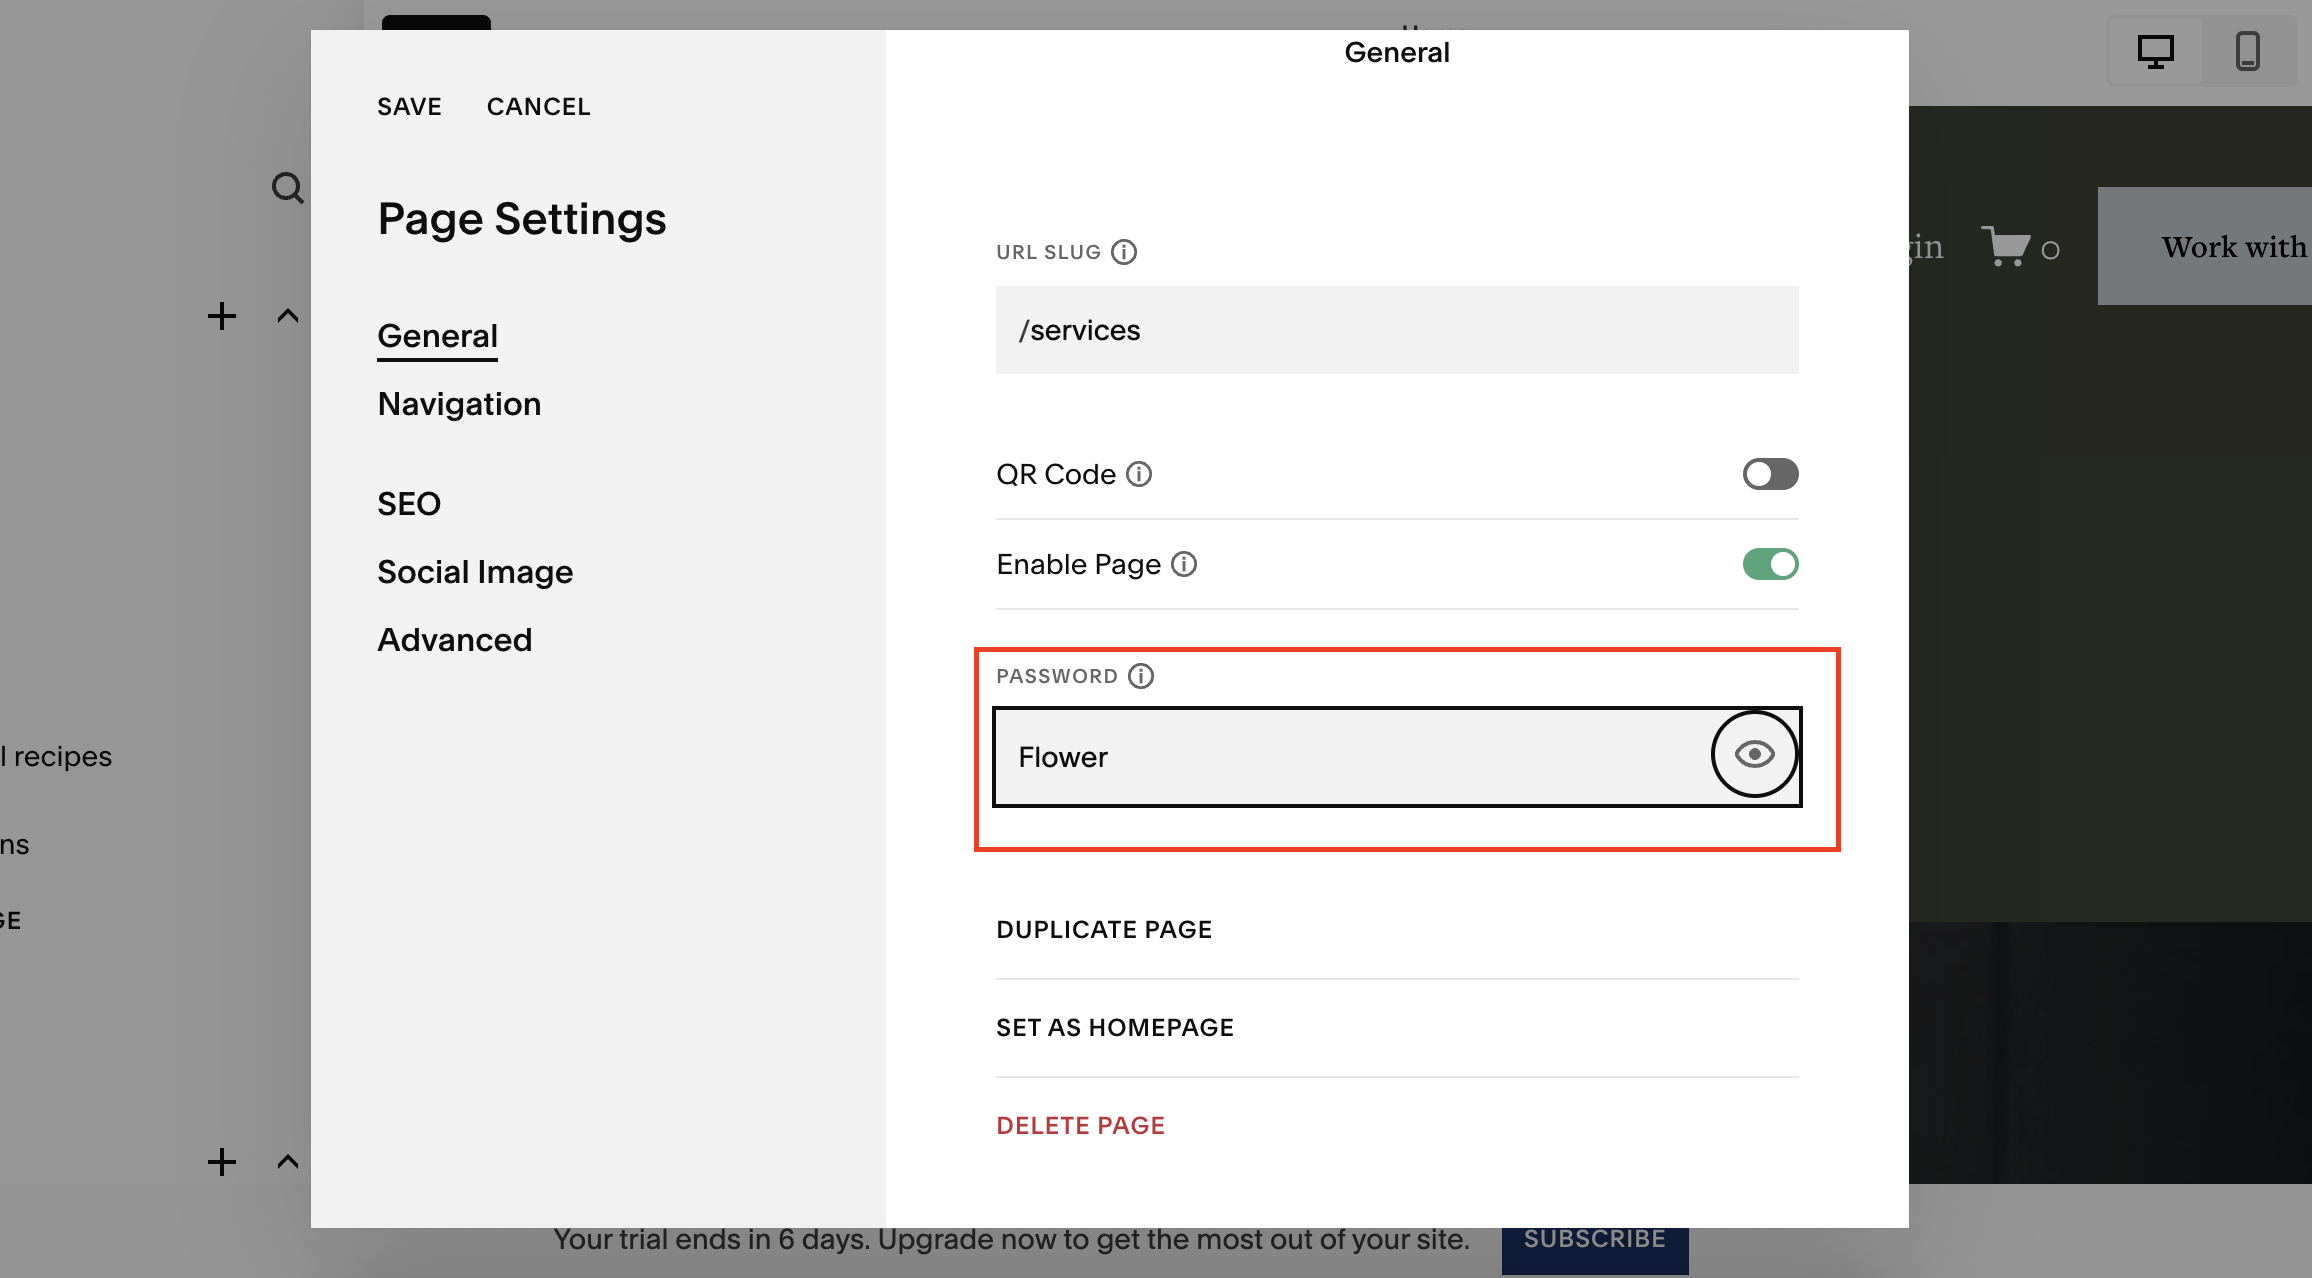
Step 3: Password-Protect the Page
Click the Settings cog icon for the page.
Go to Password and set a password (e.g. “client2024”).
Save your changes.
Now, when clients visit yourdomain.com/portal-general, they’ll be prompted to enter the password before accessing the page.
Method 2: Create Individual Client Portals
If you want each client to have their own private, bespoke page, follow this method.
Step 1: Create a Folder for Portals
In Pages > Not Linked, click + and add a Folder.
Call it something like “Client Portals.”
Step 2: Create the First Client Page
Inside the folder, add a new page and name it after the client (e.g. “Sam’s Portal”).
Add the content blocks specific to that client.
Step 3: Secure the Page
Change the URL slug to a random string (e.g. /sam-portal-x92hf).
Add a unique password for this page under Settings.
Step 4: Duplicate for More Clients
Right-click the client’s page - Duplicate Page.
Rename it (e.g. “Tom’s Portal”) and assign a new password + URL.
Repeat as needed for each client.
Best Practices for Client Portals
Use unique passwords for security.
Keep URLs obscure so they’re not easy to guess.
Optimise for mobile since many clients will log in from their phone.
Customise per client with forms, files, or links relevant to them.
Final Thoughts
Setting up a client portal in Squarespace is simple, secure, and cost-effective. Whether you want one general login page or bespoke pages for each client, Squarespace gives you the flexibility to deliver a professional experience without extra tools.